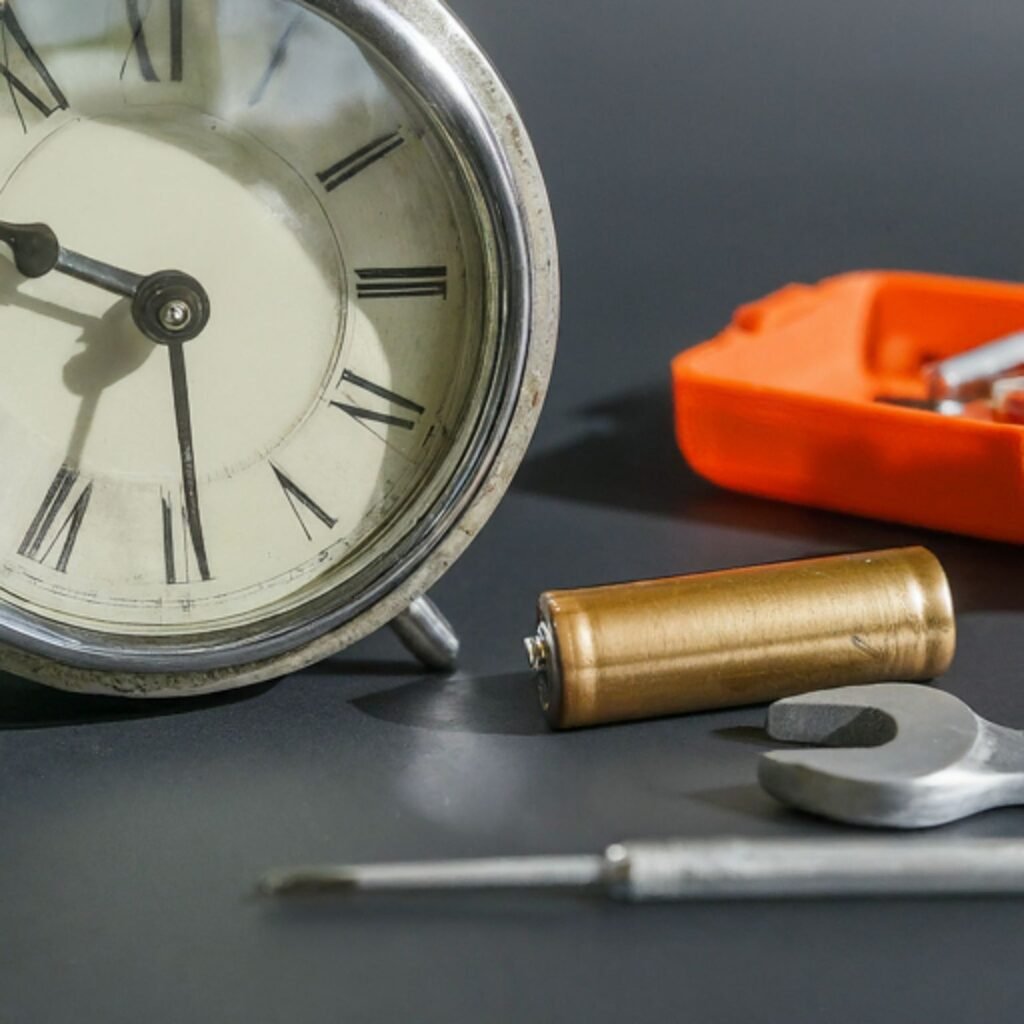
Learn how to fix clock hands not moving with our comprehensive troubleshooting guide. Discover step-by-step solutions for accurate timekeeping.
A perfectly functional clock brings rhythm to our day. When those hands come to a standstill, it’s more than just a loss of accurate time – it feels like a small disruption in our routines. If your clock hands aren’t moving, don’t despair! Often, there’s a surprisingly easy fix waiting to be discovered. This guide will take you through everything from the simplest checks to understanding the clock’s mechanism, empowering you to get your clock ticking again.
Basic Troubleshooting
1.1 Check the Battery
The most common cause of frozen clock hands? A depleted battery. Here’s a quick checklist:
- New or Old: Even new batteries can be duds. Try a fresh one.
- Correct Installation: Ensure the positive (+) and negative (-) ends are positioned correctly.
- Clean Contacts: Corrosion on the battery terminals hinders power flow. Gently clean with a pencil eraser or cotton swab dipped in rubbing alcohol.
- Recommended Type: Some clocks work best with specific batteries (often Duracell or Energizer). Your clock’s manual may provide a recommendation.
- Electrical Issues: Battery-operated or electric clocks may experience power supply problems or damaged wiring.
- Environmental Factors: External factors like extreme temperatures or magnetic interference can affect a clock’s performance.
1.2 Ensure Hands Aren’t Touching
If the battery is good, examine the clock face:
- Hand Clearance: The minute and hour hands should never catch on each other.
- Gentle Fix: If you see contact, carefully bend the hands to create a tiny gap between them.
1.3 Nighttime Silence Mode
Many modern clocks have an automatic hush feature for nighttime. If yours does, the hands might freeze during certain hours. Your clock’s manual will advise how to disable this mode.

Addressing the Clock Mechanism
If the basic checks fail, it’s time to delve a little deeper into the clock’s inner workings.
2.1 Removing the Clock Hands
- Central Point: On the clock face, you’ll see a nut or pin holding the hands in place.
- Tools: You may need needle-nose pliers or a small screwdriver.
- Delicate Process:
- Remove the second hand first (if present) with a gentle pull.
- Carefully unwind the central nut, or if it’s a pin, use your tool to pry it upward.
- Remove the minute hand, followed by the hour hand.
2.2 Tightening the Mechanism
- Loose Nut: With the hands gone, inspect the central nut. If it feels loose, hand-tighten it firmly, but avoid overtightening.
- Reassemble: Replace the hands in reverse order (hour, minute, second).
2.3 Gear Inspection
If the hands still won’t turn, it’s likely an issue within the clock’s mechanism.
- Removing the Back: Gently unscrew or unclip the clock’s back panel.
- Look for Misalignment: Inspect the gears. Are there any teeth broken or visibly out of place? If so, it’s possible to reposition some gears by hand.
- Knowing Your Limits: If the gear problem seems complex, it’s time to consider professional help. Forcing repairs here could cause further damage.
When to Seek Professional Help
3.1 Knowing When to Outsource
The mechanisms of fine clocks are delicate marvels. If you’re ever unsure, err on the side of caution and call a clock repair specialist. This is especially important for antique or sentimental timepieces, as DIY attempts could reduce their value.
3.2 Finding Qualified Clock Repair
- Local Expertise: Local clock shops or jewelers often have clockmakers on staff or can provide recommendations.
- Online Options: Some services specialize in clock repairs completed via shipping. Be sure to choose a reputable service with good reviews.
Preventative Measures
With a little routine care, you can help ensure your clock keeps ticking smoothly for years to come.
4.1 Regular Battery Changes
- Prevention is Key: Don’t wait for the clock to stop completely before swapping batteries.
- Leak Damage: Old batteries can corrode and leak, harming the delicate clock mechanism.
- Annual Reminder: Set a yearly calendar reminder to proactively replace your clock batteries.
4.2 Proper Handling
- Avoid Jolts: Clocks don’t enjoy being knocked or dropped. Take care when moving or handling them.
- No Forcing: When setting the time, never force the hands backward or against resistance. This can bend gears internally.
- Gentle Adjustments: For setting the time, move the minute hand only and only in a clockwise direction.
4.3 Dust and Environment
- Dust Build-up: Over time, dust can accumulate and jam the clock gears. Keep clocks clean with regular dusting.
- Extreme Environments: Avoid placing clocks in areas with excessive humidity, fluctuating temperatures, or direct sunlight. These factors can warp components and compromise accuracy.
There’s a satisfying feeling in restoring a non-working clock to its former glory. Remember, most cases of frozen clock hands have easily identifiable causes! By following this comprehensive guide, you’ll be equipped with the knowledge to:
- Troubleshoot common battery and clock face problems.
- Understand when to inspect the internal clock mechanism.
- Know when to consult a professional for more complex repairs.
- Adopt simple habits to prolong the life of your clocks.
With a little patience and investigation, you’ll get your clocks ticking and telling time right on schedule.
Additional Considerations and Tips
- Quartz vs. Mechanical: Quartz clocks operate on battery power and have simpler mechanisms. Mechanical clocks often have intricate gear systems and may require a clockmaker’s expertise for repairs.
- Wall Clocks vs. Table Clocks: Wall clocks may be trickier to access the mechanism because of how they are mounted. However, the troubleshooting principles remain the same.
- Safety First: As with any DIY, make sure your workspace is organized, and you have the right tools at hand. For battery-operated clocks, remove the battery during any close inspection. When removing back casings, work on a soft surface to prevent dropping screws or small parts.
Final Thoughts
While modern life is full of digital clocks on phones and computers, there’s still a special charm to traditional analog clocks. Whether it’s a vintage mantlepiece clock or a simple battery-operated clock in the kitchen, they become part of our home’s rhythm. This guide is your toolkit for preserving those ticks and tocks for years to come!
FAQ’s
Why do clock hands stop moving but the second hand keeps going?
- Answer: This usually indicates either a weak battery or a minor misalignment of the minute and hour hands. First, replace the battery. If the problem persists, carefully check if the hands are touching or catching on each other and gently bend them to create clearance.
How do you fix a loose clock hand?
- Answer: Loose hands often stem from a loose central nut on the clock face. Here’s how to fix it:
- Gently remove the hands (second, then minute, then hour).
- Tighten the central nut securely by hand.
- Replace the hands, ensuring they are correctly spaced.
What causes a clock mechanism to stop working?
- Answer: Several factors can cause a clock mechanism to stop:
- Dead or weak battery (the most common culprit)
- Dust or debris clogging the gears
- Damaged, bent, or misaligned gears
- In the case of mechanical clocks, the mainspring may be unwound or broken.
Can you oil a clock mechanism?
- Answer: Yes, but use specialized clock oil ONLY. Household oils (like WD-40 or cooking oils) will eventually gum up the mechanism and cause more damage. If you’re unsure, it’s best to have a professional clean and lubricate your clock.
How much does it cost to repair a clock?
- Answer: Repair costs vary greatly depending on the type of clock (quartz vs. mechanical), complexity of the problem, and rates of your local clock repairer. Simple fixes might cost $20-$50, while major repairs on antique clocks can be several hundred dollars. Obtain a quote before starting work.

