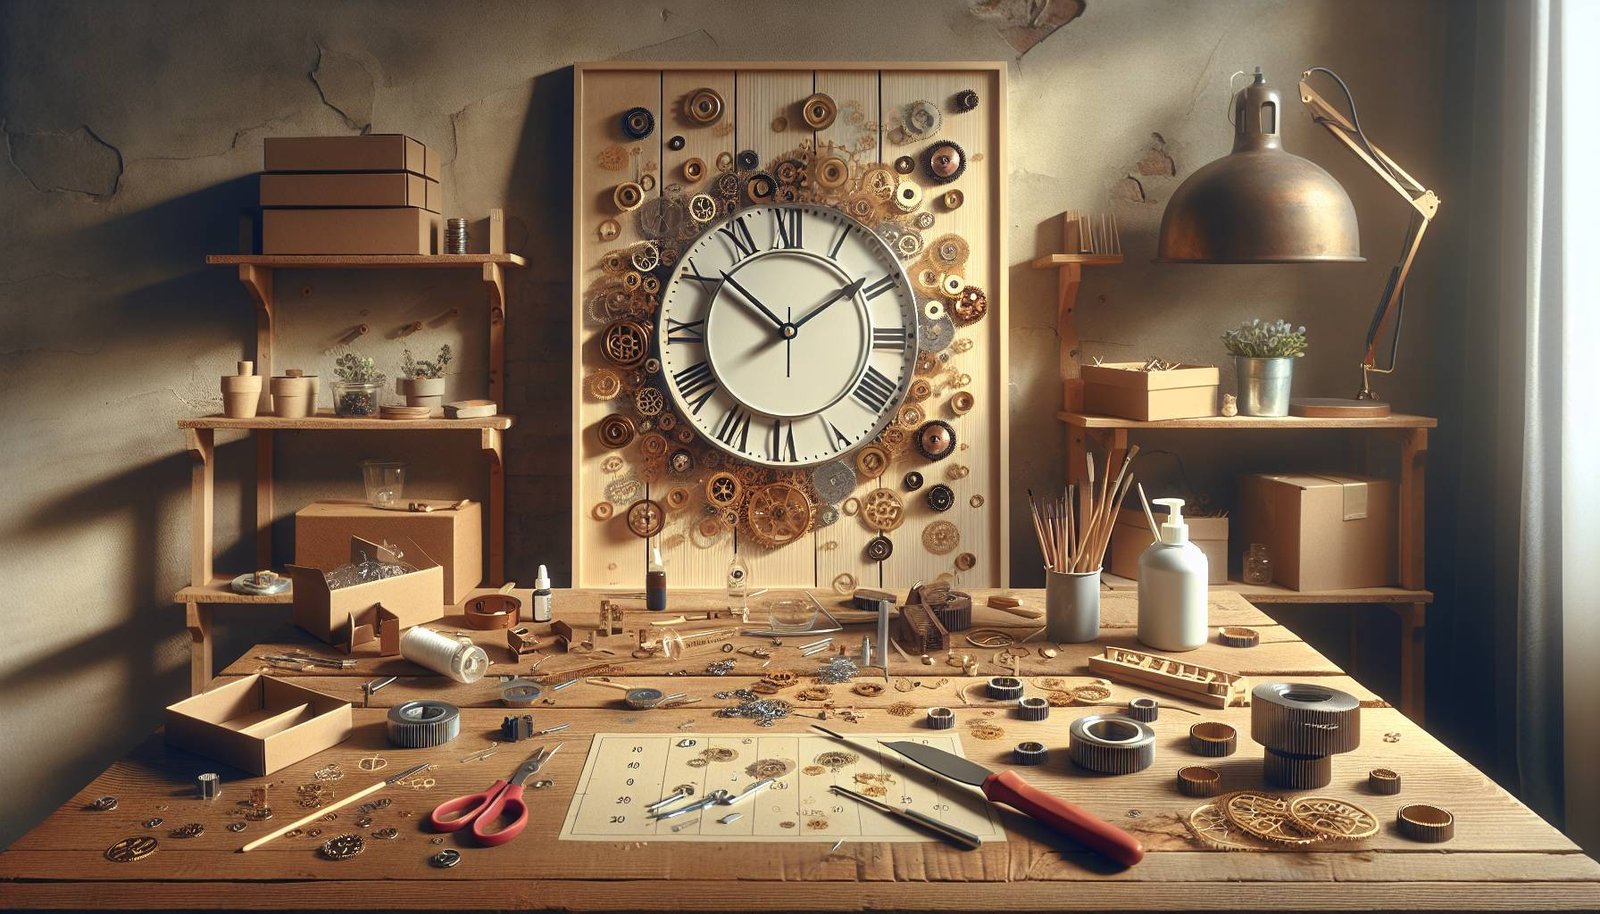
Yes, you can DIY a wall clock kit at home using a purchased kit and some basic tools. The process typically involves assembling the provided pieces, which includes setting up the movement mechanism, attaching the clock hands, and adding any decorative elements to personalize your clock.
Creating a DIY wall clock kit at home can be a rewarding experience, offering not only a personalized touch to your decor but also the satisfaction of crafting something functional and beautiful with your own hands. Such projects not only imbue your space with personality but can also serve as a talking point when you have guests. Let’s delve into the process of turning a simple kit into a timeless masterpiece for your home.
Understanding Wall Clock Kits
Before we start crafting, let’s understand what a wall clock kit typically includes:
- Movement mechanism: This is the heartbeat of any clock, the engine that drives the hands around the face.
- Hands: You’ll usually have three hands: hour, minute, and second.
- Clock dial: Some kits come with a dial, while others allow you to customize your own.
- Decorative elements: These are extras to embellish your clock, such as numbers, stickers, or additional design accents.
Types of Wall Clock Kits Available
| Type | Components | Style |
|---|---|---|
| Analog | Standard mechanical movement | Classic |
| Digital | Electronic display | Modern |
| Themed | Custom dials and elements | Whimsical |
Essential Tools and Materials Needed for Your Wall Clock Kit
When you decide to take on a project to DIY a wall clock kit at home, gathering your materials is the first step.
- Tools: Screwdriver, hammer, nail or hook for hanging
- Materials: Selected wall clock kit, batteries, wall anchor (if heavy)
Materials Sourcing
To find these materials, check out:
Safety Tip: Ensure you’re working in a well-lit area and keep sharp tools away from children.
Designing Your Wall Clock
The design phase is where your creativity can shine.
- Selecting a Design Theme: Match your clock to your room’s aesthetic.
- Popular themes include modern, rustic, or vintage designs.
- Choosing the Right Size: Ensure your clock will be proportionate to the wall space.
- Customization Options:
- Colors and textures
- Numerical design
Step-by-Step Assembly Instructions
- Preparing the Clock Face:
- If your kit includes a face, begin by laying it on a flat surface.
- For a custom face: You might use a solid piece of wood, vinyl record, or even paint directly onto the wall.
- Installing the Movement Mechanism:
- Insert the movement through the back of the clock face.
- Secure with any provided washers or nuts.
- Attaching the Clock Hands:
- Typically, you’ll start with the hour, then the minute, and finally, the second hand.
- Gently press them onto the corresponding posts.
- Adding Decorative Elements:
- Stick or attach numbers or markers as desired.
- Quality Check:
- Once assembled, double-check that all parts are secure and that the hands move freely.
Important: Always follow the instructions specific to your kit for the best outcome.
Finishing Touches and Installation
With your clock fully assembled, it’s time to add the final touches.
- Hang with care, using a sturdy hook or nail.
- For heavier clocks, consider a wall anchor or more robust hanging systems.
Common Mistakes to Avoid While Making a DIY Wall Clock
Here’s a list of pitfalls to keep in mind:
- Ignoring the balance of the hands
- Over-tightening screws, which may impede the mechanism
- Misaligning numbers
Benefits of DIY Wall Clocks
Crafting a DIY wall clock kit at home not only showcases your personality but also has wider benefits. By choosing to DIY, you potentially reduce waste, especially if upcycling materials. Furthermore, a DIY clock can be a thoughtful gift, tailored to your loved one’s taste.
Read More: What safety precautions should be taken when installing a wall clock above a fireplace?
Additional Resources
- Join forums like Reddit’s DIY community for advice and inspiration.
- Check out YouTube tutorials for visual guidance.
- Blogs such as Instructables often have detailed guides on DIY projects including wall clocks.
Conclusion
A DIY wall clock kit at home can be a simple yet enriching project. Not only does it add charm and character to your space, but it also reflects your creativity and dedication to crafting a piece that’s both personal and functional. So why not start your own DIY journey and craft a timepiece that will be cherished for years to come?
Ready to take on the challenge? Gather your materials, unfurl your creativity, and embark on the journey of creating a DIY wall clock kit at home. Share your experiences in the comments or on social media – we’d love to see what time tells in your hands!

