
Discover step-by-step instructions on how to remove battery operated clock mechanism easily and safely. Unlock maintenance with ease!
Whether you’re replacing a worn-out clock movement, getting creative with a custom clock face, or venturing into basic clock repair, knowing how to remove a battery-operated clock mechanism is a surprisingly useful skill. Fortunately, it’s not as complex as you might think! Most battery-powered clocks allow relatively easy access and removal of their inner workings. Let’s explore the process, along with some tips for seamless results.
Gather Your Tools
Before you delve in, prepare with these simple tools:
- Small Screwdriver: Opt for either a flathead or Phillips head, depending on the screws or fastening system your clock uses.
- Needle-Nose Pliers: Handy for gripping parts and loosening stubbornly tight components.
- Soft Cloth or Gloves: These protect the clock face and hands from accidental scratches.
Before You Begin
Two fundamental precautions safeguard your project:
- Remove the Batteries: Even once switched off, leaving batteries in can increase the risk of corrosion if your clock will be disassembled for some time.
- Document the Layout: Snap a quick picture of the clock mechanism as it currently looks. This can be invaluable during reassembly.
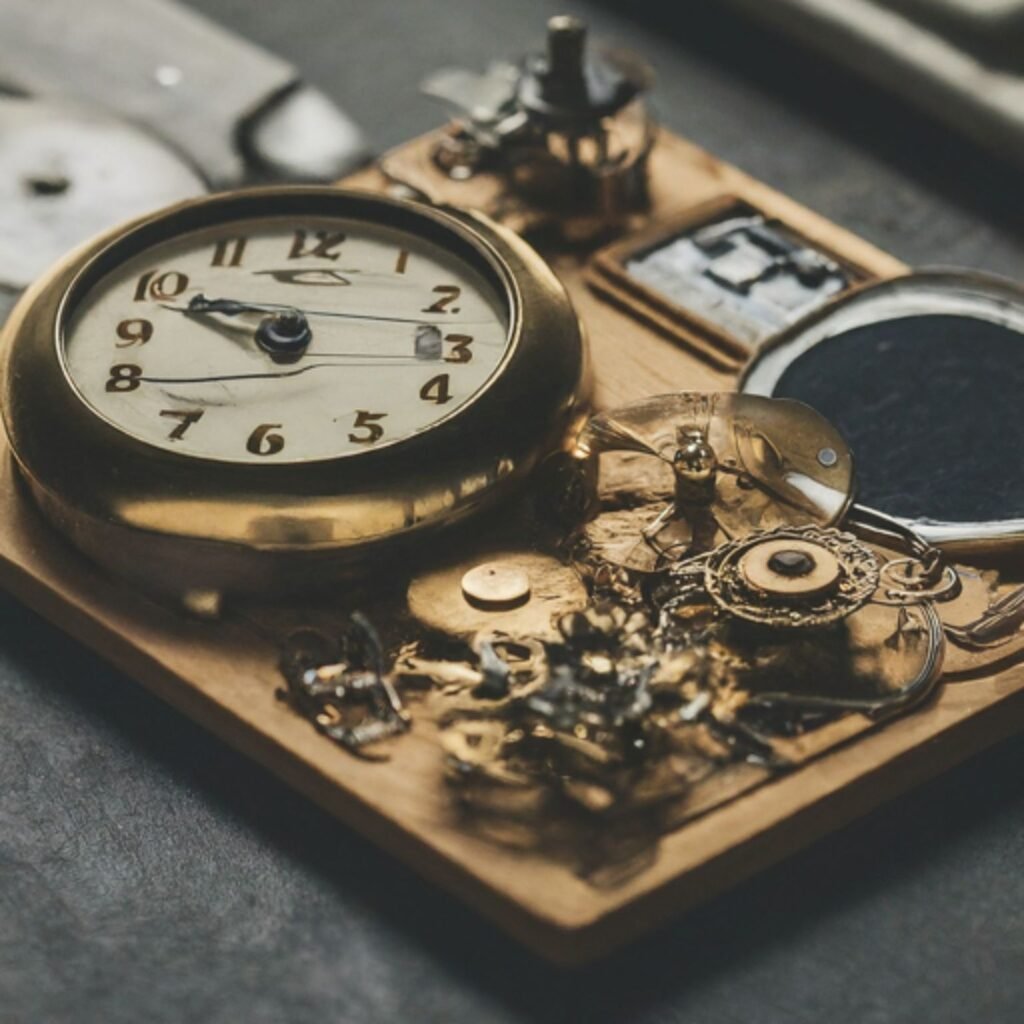
Identify and Accessing the Clock Mechanism
Clock movements are usually secured in one of two ways:
-
From the Back:
- Most often, there’s a small metal mounting nut on the back of the clock where the hands attach. This secures the whole movement inside the clock body.
- You might also encounter tiny screws holding the clock in place or even double-sided adhesive tape in less expensive models.
-
Inside the Case:
- Sometimes, you’ll need to remove the clock face and hands to fully access and release the movement from inside the clock’s housing.
Takeaway
So far, your prep work is nearly complete! Knowing what you’re working with and having the basic tools on hand sets the stage for the satisfying “hands-on” process of removing the mechanism itself.
Removing the Clock Mechanism
Let’s get that mechanism out! Here’s the general procedure, keeping in mind that minor variations are possible depending on your clock setup:
- Step 1: Locate the Mounting Nut
- On the clock’s back, find the threaded shaft protruding through the center. There’s often a circular nut directly against the clock case.
- Step 2: Loosen the Nut
- Turn the nut counter-clockwise gently. Your fingers might provide enough grip, but needle-nose pliers help with particularly tight nuts.
- Step 3: Keep Track of Pieces
- Some clock mechanisms will have washers between the nut and the clock face. Keep these carefully to re-attach later.
- Step 4: Release the Mechanism
- With the nut off, carefully pull the whole movement away from the back of the clock face. It should free with minimal resistance.
Variations
- Screws: If your movement is attached with small screws, simply remove these using your screwdriver before detaching the movement.
- Adhesive Tape: Double-sided tape can generally be pried away gently with your fingernail or a thin, non-sharp plastic tool, taking care not to damage the clock case.
Removing the Hands
To fully liberate your clock mechanism, the hands have to come off:
- Understand the Order: Usually, the minute hand needs to come off first, followed by the hour hand, and lastly, the second hand (if your clock has one).
- Gentle Yet Firm: Apply slight upward pressure on the minute hand at the center where it attaches while rotating it in a counter-clockwise direction. Think of it like unscrewing it – this usually loosens its grip.
- Repeat for Each Hand: Remove the hour hand similarly, noting its original position in relation to the minute hand. The second hand often pulls straight off.
Troubleshooting Tips
Sometimes, things don’t go quite as smoothly as planned:
- Stuck Hands:
- If gentle attempts don’t work, try using a plastic spudger tool (often used for electronics) to carefully pry the hands off their mount. Avoid metal tools that could scratch the finish.
- Tight Nuts:
- A tiny drop of penetrating oil (WD-40 is safe for clocks in small amounts) can help with rusted or stubborn nuts. Apply, wait a few minutes, then try loosening again.
Takeaway
Congratulations! You’ve mastered a big step – your clock movement is now free, making repair or replacement a breeze. In Part 3, we’ll cover the essential points of replacing the movement and some general pointers.
Replacing the Mechanism
- Finding the Right Fit: Ensure your replacement movement has the same hand-shaft lengths as the original. Hand-shaft lengths are critical for them to correctly clear the clock face and function accurately. Reputable clock parts suppliers readily provide this information.
- Hand Placement: Refer to your photo, reattaching the hands in reverse order – second hand first (if applicable), then the hour hand (at the correct angle for your photo’s time), and finally the minute hand. Press gently onto the center base.
- Reassembly: Reverse the disassembling steps. Tighten the mounting nut securely without overdoing it. Don’t forget any removed washers! Double-check that hands move freely once everything is back in place.
Conclusion
Removing a battery-operated clock mechanism is usually far less daunting than it may initially seem. Whether this step solved an issue or opened the door to your custom clockmaking dream, remember the fundamentals:
- Prepare before starting
- Pay attention to the order of assembly
- Be gentle yet firm
While most modern, inexpensive clocks are DIY-friendly, remember there’s no shame in consulting a repair shop for antique or particularly complicated timepieces. A pro can avoid irreversible damage to precious heirlooms or delicate components.
Additional Tips
- Regular Care Prevents Problems: A gentle dusting now and then keeps clock movements cleaner, improving their longevity.
- The Right Batteries Matter: Opt for high-quality batteries for maximum power output and reduced leakage risk.
FAQ’s
FAQ 1: How do you open a battery-operated clock?
Answer:
- Check the Back: Often, there’s a clearly defined battery compartment accessible from the back.
- Examine the Edges: See if the clock face and its surrounding frame seem held together by small removable screws or if it gently twists apart. In some models, this can reveal the battery and possibly the movement if a full opening is needed.
- Manufacturer’s Notes: For unusual designs, seek online instruction manuals or videos specific to your clock brand.
FAQ 2: Can I fix a quartz clock that won’t work?
Answer: In many cases, yes! Start with the basics: fresh batteries, proper battery installation, and a check for bent/obstructed hands. If those don’t suffice, the mechanism itself might be faulty and need replacement. If the clock holds value, a repair shop assessment may be worthwhile.
FAQ 3: What causes a quartz clock to suddenly stop?
Answer: The top culprits are:
- Dead batteries – even seemingly functional ones can lack sufficient power for clocks.
- Bent hands – especially the second hand snagging on other parts.
- Internal dust build-up or dried-out lubrication impeding movement.
- Broken or damaged clock movement.
FAQ 4: What does I, O, S mean on a clock movement?
Answer: These refer to the shaft length of the movement, important for clock hand clearance:
- I shaft: The shortest option, used for thin clock faces.
- O shaft: A usual standard length for standard clock faces.
- S shaft: Longer shaft to accommodate thicker clock faces, dials, or additional features.
FAQ 5: How do I reset a clock mechanism?
Answer: Here’s how to set the time accurately:
- Fresh Start: Insert fresh batteries
- Manual Turn: On the back of the movement, find the small wheel used to set the time. Never forcefully turn hands directly on the front of the clock.
- Time Check: Turn the time-setting wheel to the correct time, ensure AM/PM accuracy, and let the clock keep time for a few hours to make sure it ticks consistently.