Learn how to set time on atomic wall clock with our easy step-by-step guide, ensuring accurate timekeeping with signal synchronization tips.
Atomic wall clocks are the pinnacle of modern timekeeping, boasting unparalleled precision. If you’ve recently acquired one, knowing how to set the time on your atomic wall clock is paramount. This comprehensive guide walks you through the process, ensuring your clock not only displays the time accurately but also becomes a reliable reference for your household.
Understanding Your Atomic Wall Clock
Atomic clocks stand as the zenith of precision in contemporary timekeeping. These devices are unparalleled in their accuracy due to their ability to synchronize with a national timekeeping standard.
Unlike conventional clocks that may drift and require frequent adjustments, atomic clocks maintain their precision over extended periods without any manual intervention. They achieve this by receiving time signals from the most accurate clocks in the world — atomic clocks that keep time by measuring the vibrations of atoms.
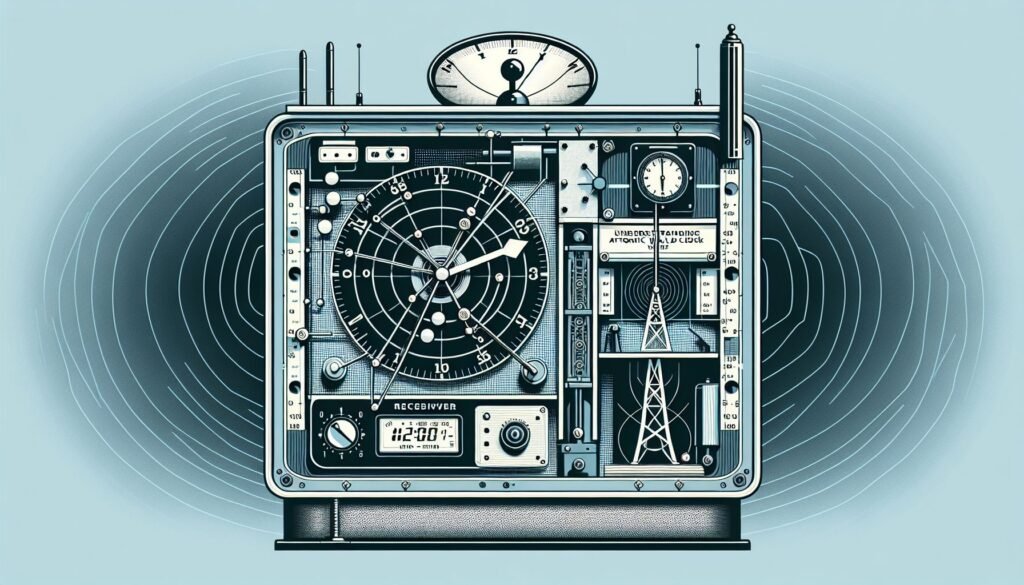
How Do Atomic Clocks Work? At the heart of an atomic wall clock is a small receiver that picks up long-wave radio signals transmitted by national time standards. In the United States, for instance, the time standard is broadcast by the National Institute of Standards and Technology (NIST) from Fort Collins, Colorado. These broadcasts are relayed via a station known as WWVB and carry a 60 kHz signal bearing the official U.S. time.
The clock’s internal mechanisms decode these signals and adjust the time accordingly, typically to within one second of the official time. Atomic clocks not only display time with exquisite precision but often also show the date and the day of the week.
Different Types of Atomic Wall Clocks Not all atomic clocks are built the same. They can differ in how they receive the synchronization signal or in additional features they offer:
-
Radio-Controlled: These are the most common type of atomic clocks. They use radio signals to synchronize and are ideal for regions with strong signal reception from national time broadcast stations.
-
GPS-Controlled: These clocks synchronize using signals from global positioning system satellites. They are incredibly accurate and beneficial in locations where radio signals are too weak or disturbed.
-
Internet-Synced: A newer development in atomic timekeeping, these clocks use an internet connection to synchronize their time. They’re an excellent choice for those with reliable internet access and especially useful in places beyond the reach of radio or GPS signals.
Key Features to Consider When Purchasing an Atomic Wall Clock
Before making a purchase, evaluate these essential features to ensure that your atomic wall clock meets your expectations for convenience and functionality:
-
Signal Reception Indicator: It’s a helpful feature that can tell you whether your atomic clock is successfully receiving the synchronization signal. This can be crucial for troubleshooting if your clock’s time seems off.
-
Automatic Daylight Saving Time Adjustment: The convenience of not needing to manually update your clock during daylight saving time changes cannot be overstated. This feature ensures your clock ‘springs forward’ or ‘falls back’ at the correct moments automatically.
-
Battery Backup: Even though atomic clocks draw power for their primary functions from the household power supply, a battery backup is invaluable. It ensures that during power outages, your clock will not reset and will continue to display the correct time once power is restored.
In summary, understanding the functionality and features of atomic wall clocks is essential before making a purchase. Whether it’s a radio-controlled, GPS-controlled, or internet-synced clock, look for a model with a signal reception indicator, automatic daylight saving time adjustment, and battery backup. These features will help you get the most out of your atomic wall clock, ensuring you have the accurate time displayed at all times.
Preparing to Set Your Atomic Wall Clock
Before diving into the setup process, ensure you have the following:
- A fresh set of batteries
- A sturdy wall mount or flat surface near a window The best location for optimal signal reception is near a window facing Colorado, where the NIST (National Institute of Standards and Technology) signal is broadcasted from.
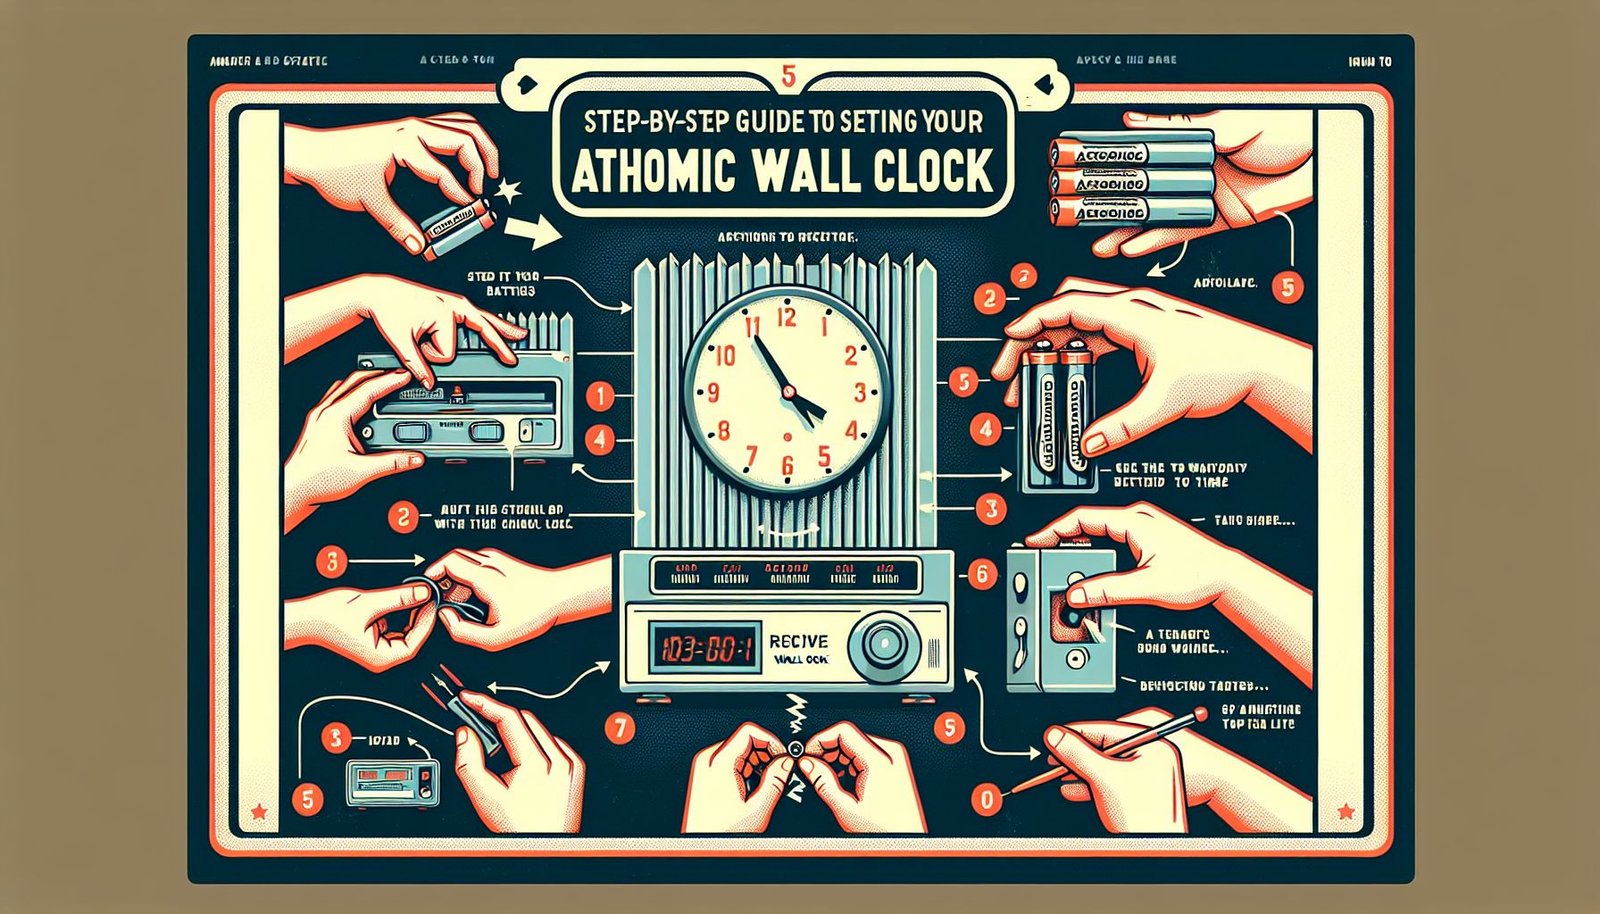
Step-by-Step Guide to Setting Time on Your Atomic Wall Clock
Setting up your atomic wall clock involves a few key steps to ensure it functions correctly and provides the accurate time display you rely on. Here’s a detailed walk-through of the setup process:
Inserting the Batteries Properly:
The first step after unboxing your clock involves providing it with power.
-
Locate the Battery Compartment: Find the battery compartment, which is usually at the back of the clock. There could be a sliding cover or a small screw holding it in place, depending on the design of your clock.
-
Open the Battery Compartment: Slide or lift the cover off, or use a suitable screwdriver to loosen the screw if necessary.
-
Insert the Batteries: Look inside for the battery configuration diagram. Carefully insert the batteries according to the positive (+) and negative (-) symbols marked inside the compartment. Using new, fresh batteries is recommended to ensure long-lasting and uninterrupted operation.
-
Close the Compartment Securely: After the batteries are in place, reattach the cover or screw to close the compartment. Ensure it’s closed tightly to prevent any battery movement which can lead to loss of power and time reset.
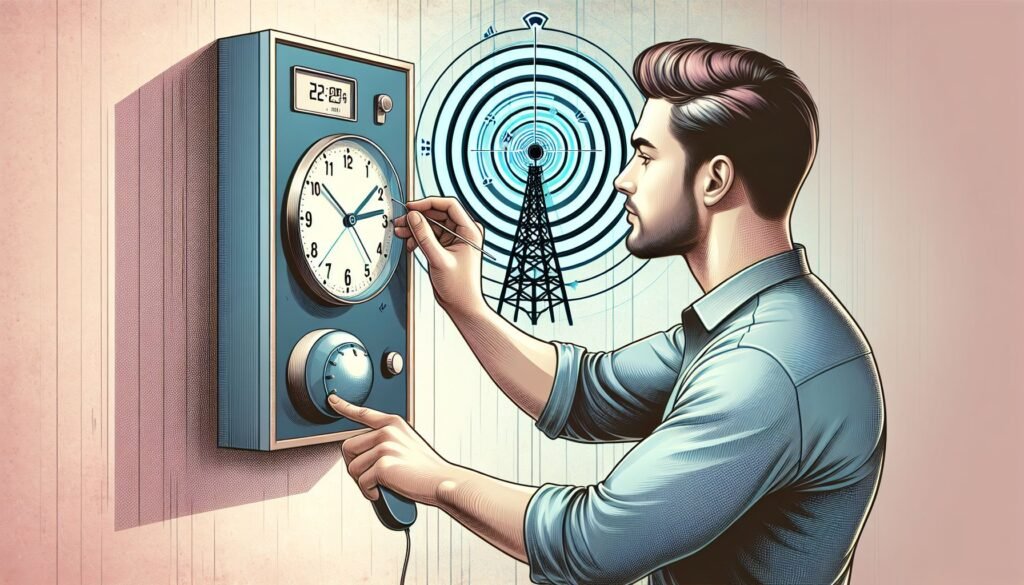
Activating the Signal Reception:
Once the batteries are installed, the next step is to synchronize the time.
-
Locate the ‘Receive’ Button: This button is usually clearly labelled and found on the back or side of your clock. It may be marked ‘Receive,’ ‘Sync,’ or ‘Reset.’
-
Initiate Signal Search: Press and release the ‘Receive’ button. This tells your clock to begin searching for the time signal.
-
Signal Reception Confirmation: Look at the clock’s display for a signal reception indicator — often a flashing light or symbol (like an antenna or satellite) that stops flashing or remains steady when synchronization is complete. Some models may also make a sound or display a message to indicate successful synchronization.
Troubleshooting:
If your clock cannot find the signal, consider the following:
-
Relocate the Clock: Sometimes, the clock’s initial placement can affect reception. Move your clock to a different location, preferably near a window that faces towards the source of the radio signal (in the US, towards Colorado) and away from any electronic equipment that may cause interference.
-
Remove Interference Sources: Electronic devices and metal structures can block or interfere with signal reception. Ensure that devices such as TVs, computers, or microwaves are not near the clock. Additionally, large metal objects can also obstruct signals, so keep metallic furniture or decor pieces at a distance.
-
Reset the Clock: If moving the clock doesn’t help, try resetting it. This can be done by removing and reinserting the batteries, which typically restarts the time reception process.
-
Patience is Key: Remember that it can take up to several minutes (sometimes longer) for the clock to synchronize after pressing the ‘Receive’ button. Ensure that you give it enough time to establish a connection. Overnight synchronization is sometimes recommended, as the signal can be stronger at night.
-
Regular Sync Checks: Lastly, even after successful synchronization, keep an eye on the signal reception indicator from time to time to ensure the clock remains accurate. Many atomic clocks automatically search for the signal periodically, but checking manually can alert you to any problems.
By following these steps and troubleshooting tips, your atomic wall clock should be set to display the correct time reliably. Once set up, enjoy the benefits of having one of the most precise time-keeping devices in your home or office.
Manually Setting the Time (If Needed)
In the event of signal issues, set the time manually:
- Hold the ‘Time Set’ button until the time zone setting blinks.
- Select the correct time zone.
- Adjust the time using the + or – buttons.
| Time Zone | Adjustment |
|---|---|
| Eastern | +0 |
| Central | -1 |
| Mountain | -2 |
| Pacific | -3 |
Checking the Date and Time Zone Settings
- Verify date settings and adjust as necessary.
- Double-check time zone settings.
Time Zone Reference:
| US Time Zones | Settings |
|---|---|
| Eastern (EST/EDT) | E |
| Central (CST/CDT) | C |
| Mountain (MST/MDT) | M |
| Pacific (PST/PDT) | P |
Ensuring Accuracy
Visit the NIST time website to compare your atomic clock’s time for accuracy. Place your clock in a temperature-stable environment away from electronic interference for best performance.
Read Also: How to Decorate Around a Large Wall Clock– Mastering the Art of Decorating
Advanced Settings
Daylight Saving Time Adjustments
Most atomic clocks adjust automatically. However, should there be a need:
- Locate the DST button.
- Ensure the DST setting is ON for automatic changes.
Remember: Daylight Saving Time typically starts on the second Sunday in March and ends on the first Sunday in November.
Additional Features and Customizations
Look out for additional features like temperature reading, alarms, and calendars. Popular brands often come with unique settings to cater to a variety of preferences.
Maintenance and Troubleshooting
Regular Maintenance Tips
- Clean your clock with a soft, dry cloth.
- Change batteries every 12 months.
Common Issues and Solutions
- Clock not updating: Ensure signal reception is not obstructed.
- Inaccurate time: Compare with NIST time and reset if necessary.
- Blank display: Check battery placement and life.
When to Seek Professional Help
If persistent issues arise or the clock fails to synchronize, contact customer support for the manufacturer.
Conclusion
A correctly set atomic wall clock is a marvel of precision and convenience. Always refer to the user manual for specific instructions related to your particular model.
Read More: Can I DIY a wall clock kit at home?- A Step-by-Step Guide to Crafting Time at Home
FAQs
Q: How often should I reset my atomic wall clock? A: Usually, there’s no need to reset it as it synchronizes itself.
Q: Can I use my atomic wall clock outdoors? A: They are generally designed for indoor use due to signal reception.
Additional Resources
By following this guide, how to set the time on an atomic wall clock becomes less daunting and more an opportunity to engage with cutting-edge technology. Happy time setting!